SharePoint and PowerShell, a match made in a slightly awkward but highly productive heaven. If you’ve ever dreamed of automating your site creation while pretending to be in a hacker movie, this guide is for you. Armed with just a few commands and a bucket of caffeine, you’ll soon wield the mighty power to set up SharePoint templates like a pro.

But before you go marching into your team meeting to declare yourself the ruler of SharePoint templates, let’s talk about the limitations:
Not Everything Gets Copied
Your site script will not include:
- External applications or third-party integrations.
- Advanced workflows or Power Automate flows.
- Permissions. You’ll have to manually configure access levels.
Design Restrictions
The design you create is tied to specific sharepoint site types (e.g., team sites). Try applying it to a communication site, and you’ll be greeted by an error faster than you can say “incompatible template.”
The Script Has a Size Limit
Site scripts max out at 1 MB in size. Yes, 1 MB. If your schema is too chunky, you’ll need to trim it or split it into multiple scripts.
But let’s start anyway …
Get Cozy with Your SPOService
Connect-SPOService -url https://yourtenant-admin.sharepoint.com/ |
Extract the Magic (aka Site Schema)
$SiteSchema = Get-SPOSiteScriptFromWeb -WebURL "https://yourtenant.sharepoint.com/sites/TemplateSite" -IncludedLists ("Shared%20Documents", "Lists/Project%20Activities") |
What’s Happening? You’re extracting all the goodies, branding, themes, settings, and even a specific list.
Bring the Script to Life
Once you’ve got your recipe (schema), you need to turn it into a reusable script. This is your “copy-paste-but-make-it-fancy” moment:
$SiteScript = Add-SPOSiteScript -Title "MyNewShinyTemplate" -Content $SiteSchema |
Why It’s Cool: This command stores your site’s DNA in a script. Think of it as putting your SharePoint style into a digital Tupperware container.
Naming Matters: Choose a title that makes sense to future you—or risk confusing everyone when you’ve got 12 “TemplateSiteScript1” files.
Design Your Masterpiece
Now comes the “pièce de résistance”: creating a site design to make your template easy to apply:
$SiteDesign = Add-SPOSiteDesign -Title "MyNewShinyTemplate" -WebTemplate 64 |
WebTemplate 64? This indicates a modern team site. It’s like choosing the glossy cover for your favorite magazine. 64 – Team site, 68 – Communication site, 69 – channel site ….
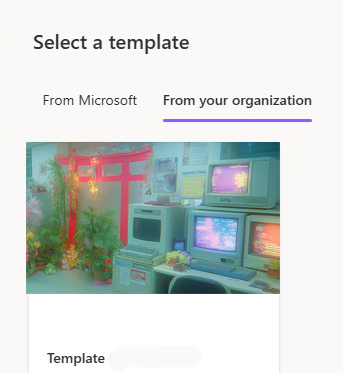
ThumbnailUrl: Add a cute picture or logo to make the design look professional .
Description: Write something so obvious even your future intern knows what this design is for.
Show Off Your Work
Want to see all your creations at a glance? Use this command to summon your list of site designs:
Bask in Glory
Congratulations, you’ve now created a reusable SharePoint template with PowerShell! This means no more manually recreating branding, themes, and settings every time a new site is born.
But what if you want to provision a modern site with all the bells and whistles, custom web parts, intricate navigation or even copy content ? SPOSiteDesign waves its white flag. It’s time to turn your attention to the PnP Provisioning Engine!
Stay tuned for Pt.2 !


