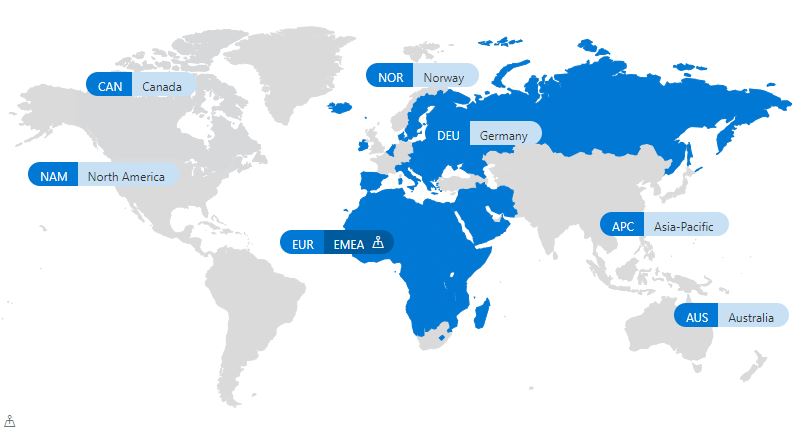
Moving house is stressful, but migrating your precious data across geolocations? That’s a whole different ball game. Don’t worry—we’re here to make sure you don’t leave your OneDrive, SharePoint, or Teams stranded in the digital abyss. Grab your PowerShell skills and let’s break down this migration madness. From geo-location to geo-location.

When migrating geolocations, you’ll be juggling three main areas:
- Users (OneDrive data)
- SharePoint sites
- Teams and their associated goodies (channels, files, and everything in between)
Let’s tackle them one by one with a dose of PowerShell magic. But before you start moving things around, make sure you:
- Understand that migrations can take time—this isn’t a sprint; it’s a marathon.
- Have the right permissions . Tenant admin powers are a must.
- Back up critical data. Because, you know, things can go sideways.
- Keep Users in the Loop: Surprise outages and unannounced URL changes? Hard pass. Keep your team in the know!
Understand PDL
PDL (Preferred Data Location) is like your tenant’s GPS, pointing your data to its designated home. Thanks to it, you can decide exactly where content for Users, SharePoint, OneDrive, and Teams settles down.Perfect for companies with a global footprint—no jet lag required.
But where to start if you need to shuffle things around, moving content and users from one region to another? Europe to North America ? Australia to Norway ? That’s where this guide comes in !
Migrating User Data (Hello, OneDrive!)
Want to shuffle user data to a different geo-location? Here’s your recipe for success:
# ConnectConnect-MsolOnline |
What about the Exchange Online ? Mailboxes are automatically migrated to the right location when a user’s PDL is set. Net!
Migrating SharePoint Sites
Let’s get those SharePoint sites where they need to be.
# Get site details |
Remember, the site’s URL will get a new passport for its updated location. Make sure to give users a heads-up and double-check for any dependencies or processes still clinging to the old address.
Migrating Teams (Because Teamwork Makes the Dream Work)
To configure the PDL for a Microsoft 365 group and migrate its associated Teams and SharePoint site, run the following PowerShell command:
# # Update Microsoft 365 group PDL# Move Microsoft 365 group# |
Post-Migration Cleanup
Once everything has moved, you’re not quite done. Check these boxes:
Monitor Performance: Keep an eye out for any lag or issues in the new geo-location.
Validate the Move: Ensure all data and users are accessible in the new location.
Communicate with Users: Let them know about the migration and any changes they might experience.
Moving data across geolocations isn’t just about clicking a few buttons—it’s about planning, precision, and PowerShell prowess. With a bit of prep work and some cheeky determination, you’ll have your tenant migration done and dusted without breaking a sweat (okay, maybe a little sweat).
Remember: Migration isn’t just moving bits and bytes; it’s about ensuring your global workforce has the best experience possible. Now go forth and conquer those geolocations!


